Description
Design Concept
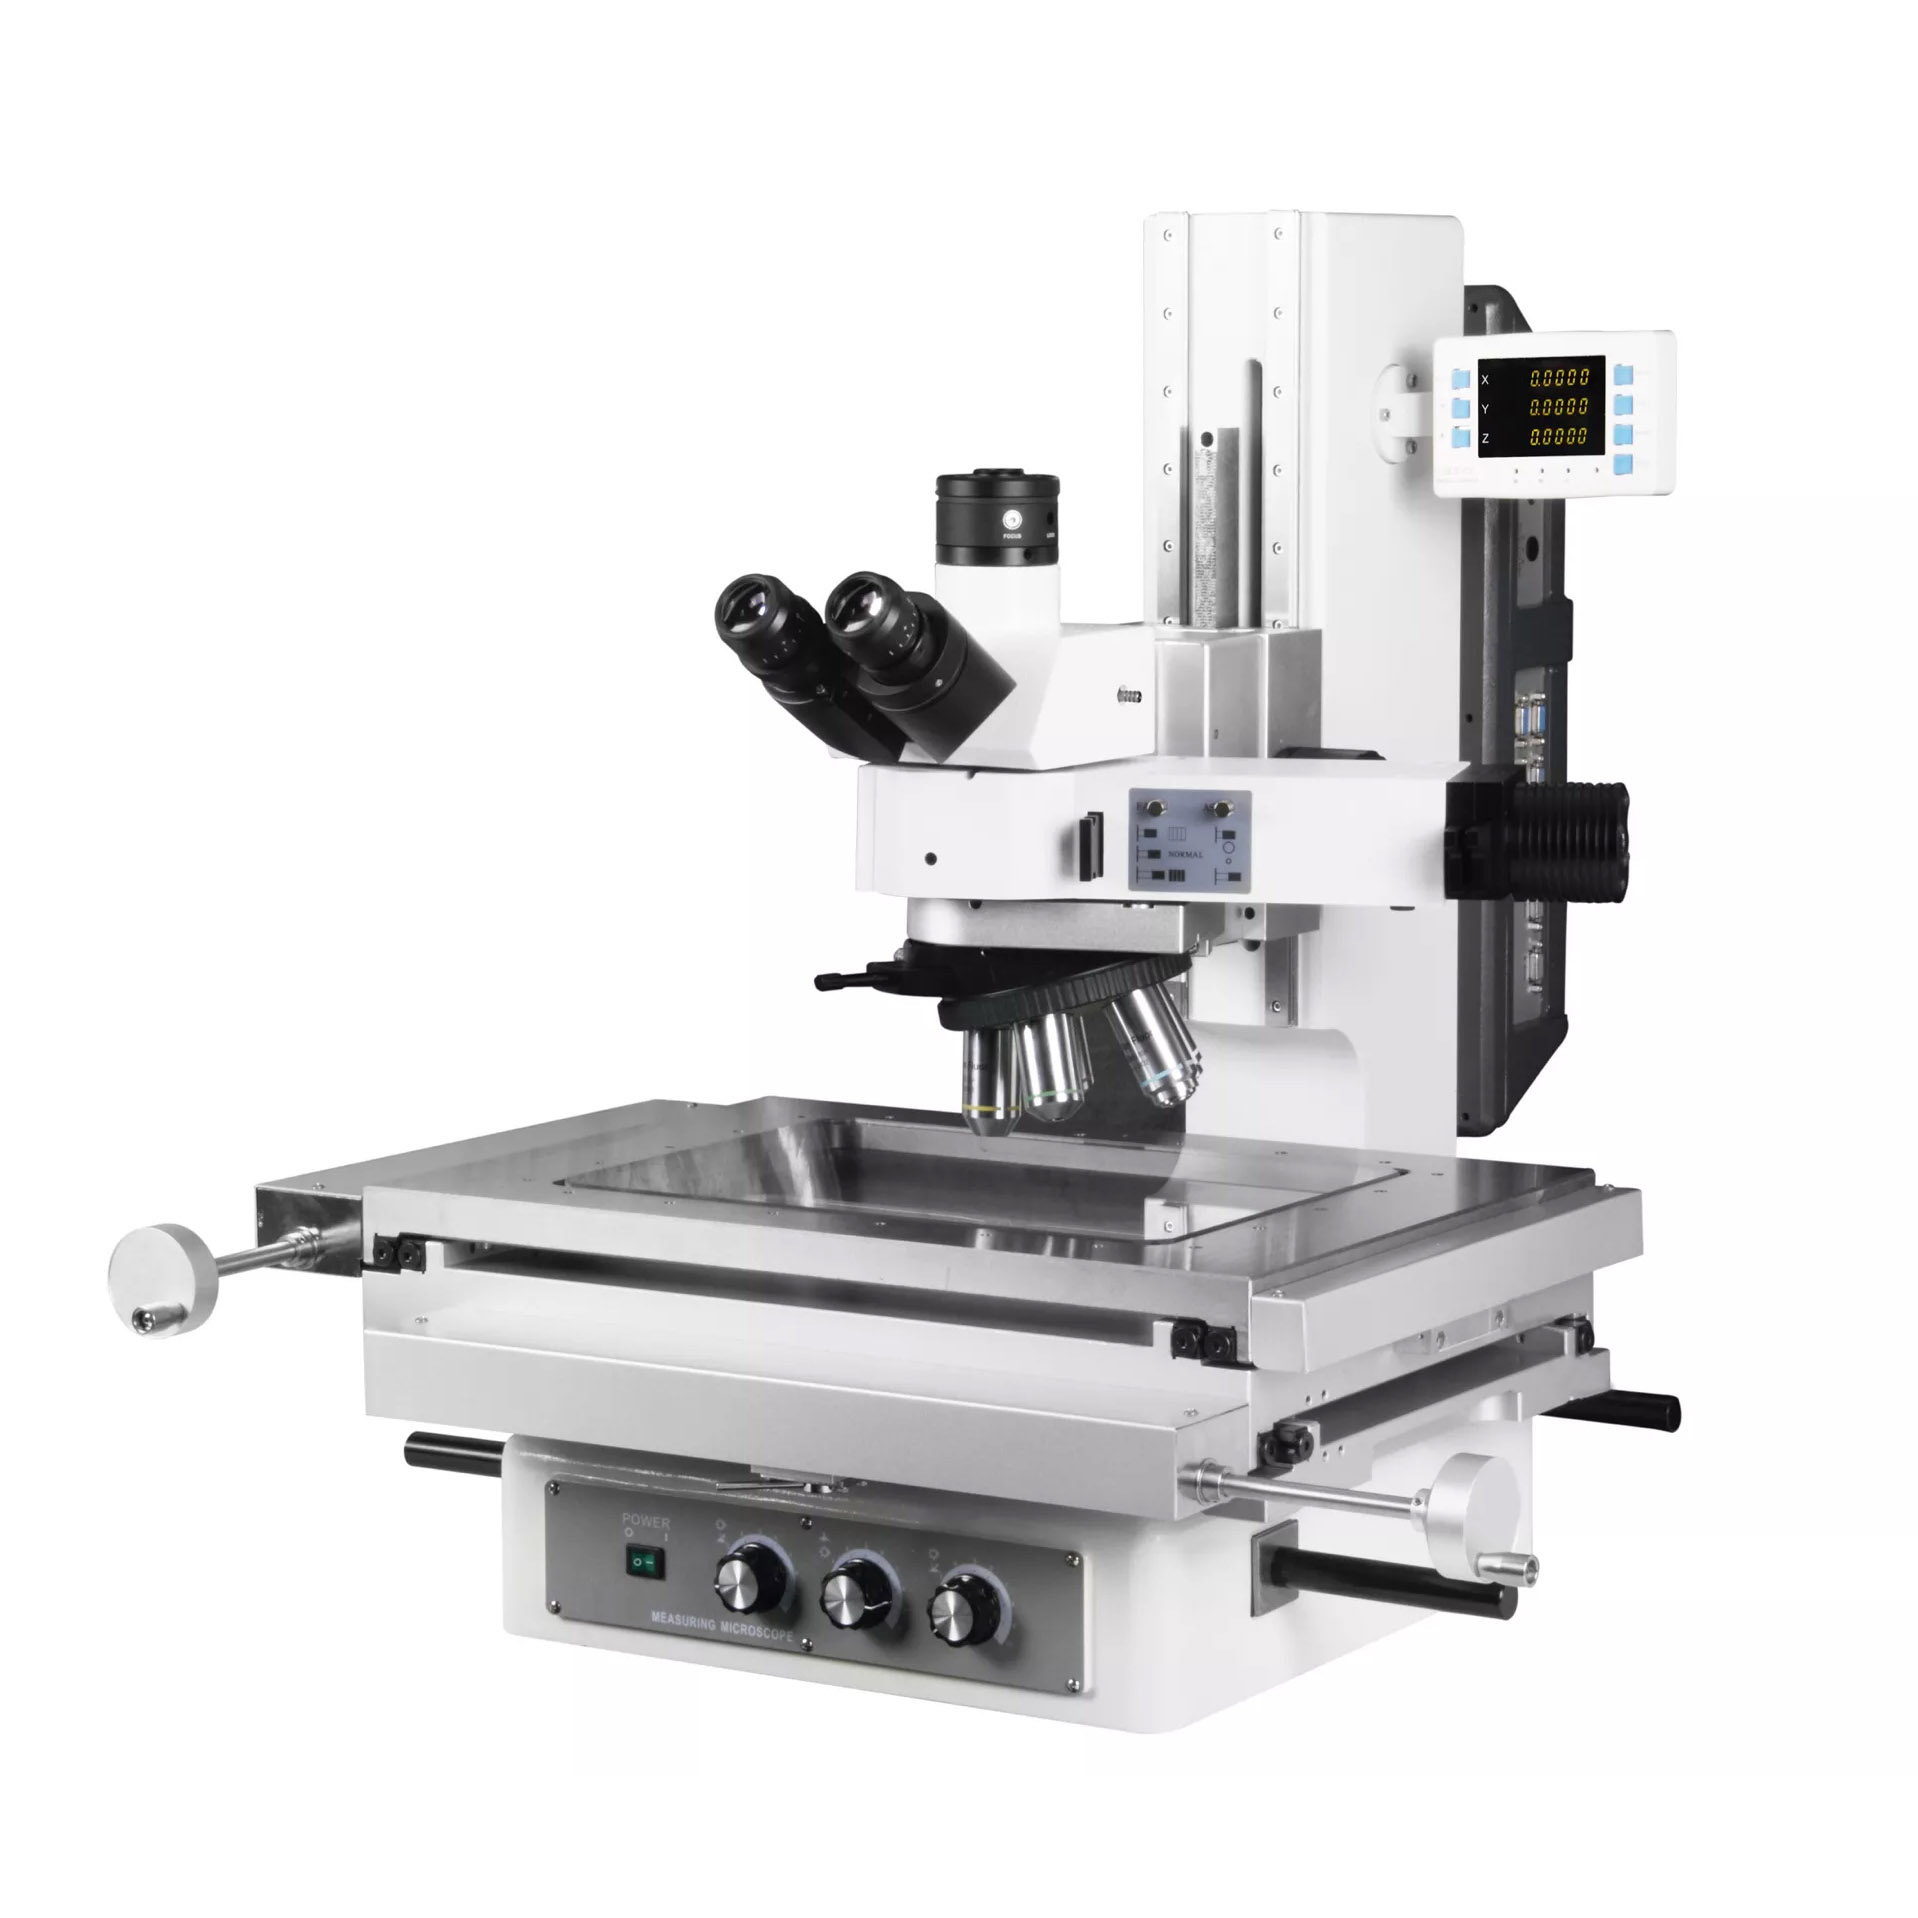
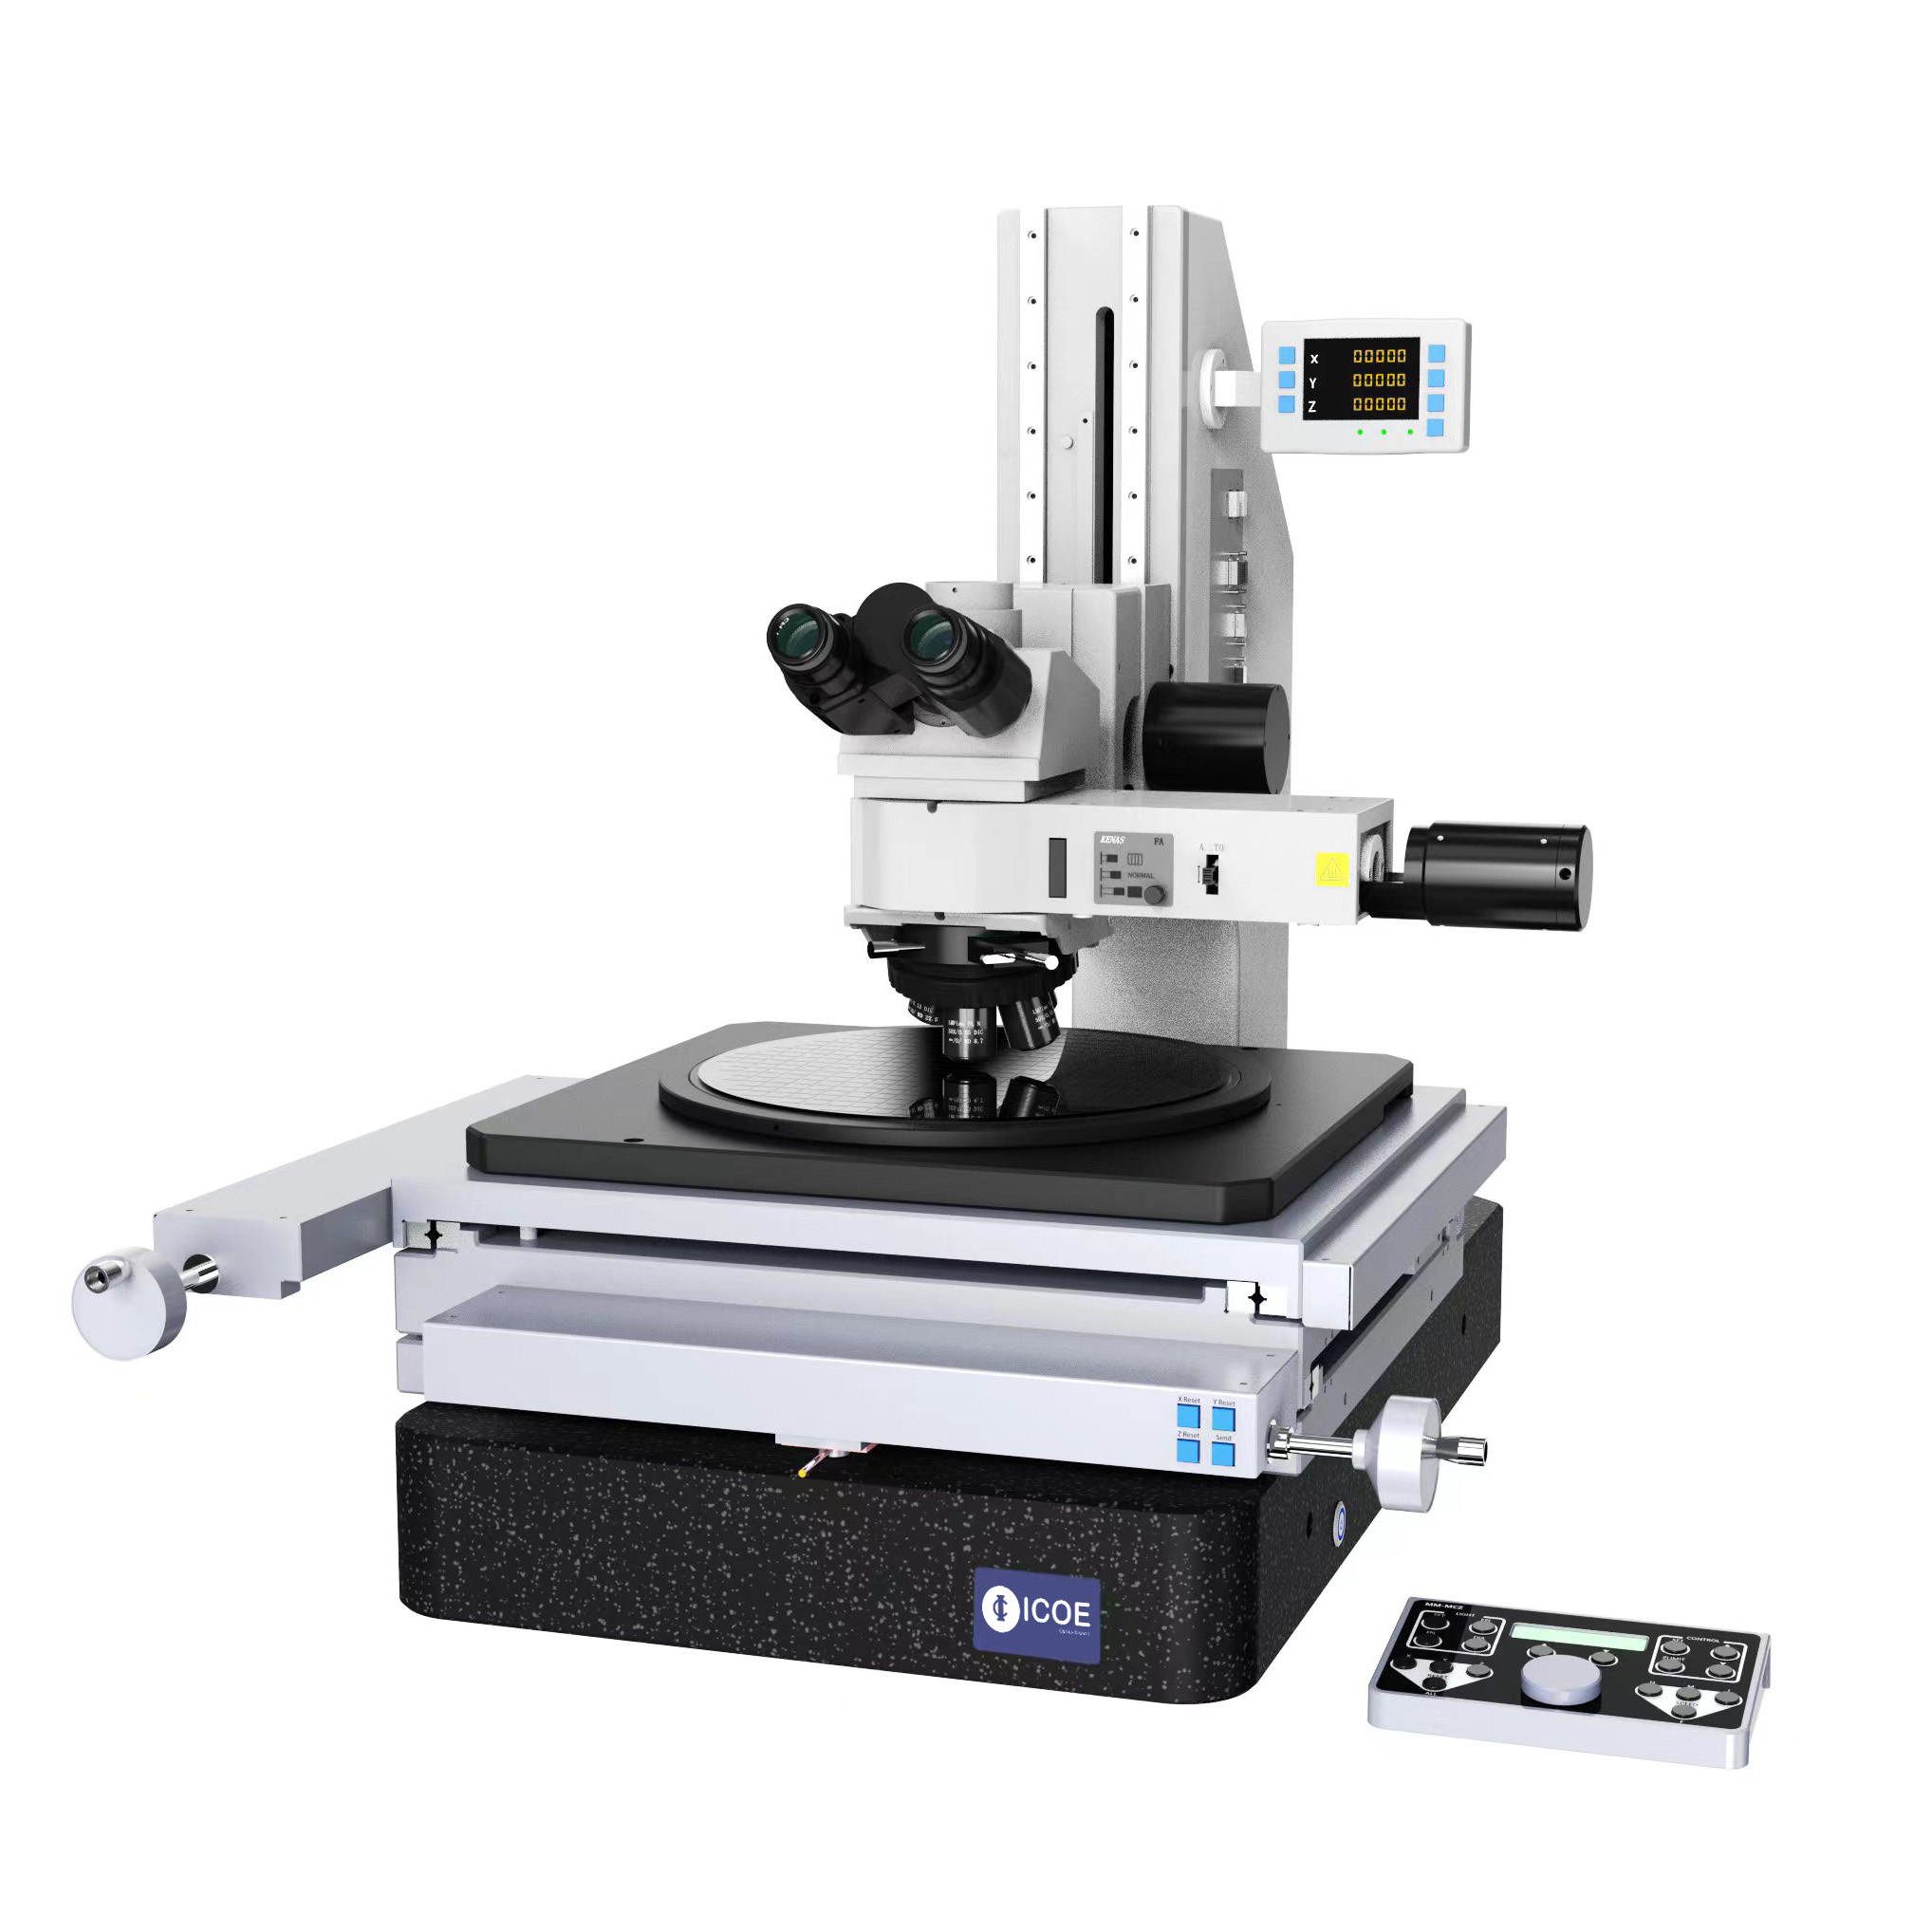
As the microstructure inspection tends to be more miniaturized, it is not only necessary to meet the production and quality management principles of observation and measurement, but also the precision requirements of the measuring microscope are getting higher and higher.

We are committed to providing you with microscopes that meet high-precision measurement standards
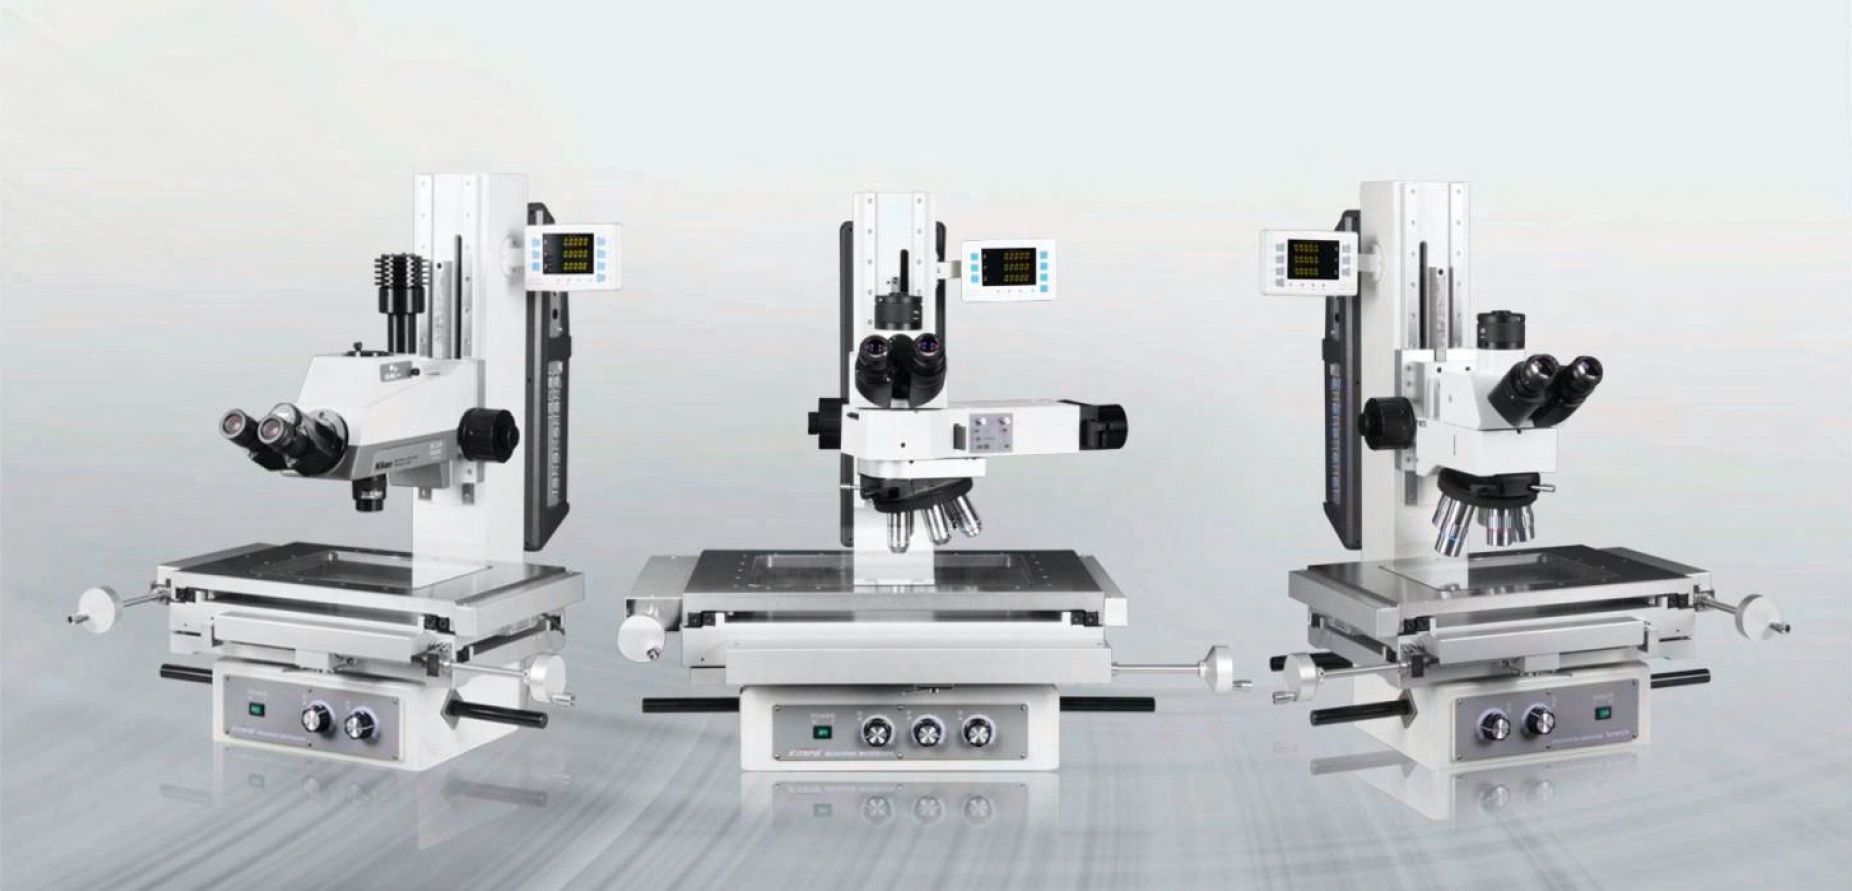
We are committed to providing you with measuring microscopes that meet this standard
Its products continue to meet and exceed the expectations of users in terms of comprehensive functions and ergonomic design, and truly realize the operator’s long-term fatigue-free operation.

Best Optical Performance
The newly designed microscope illuminator and trinocular observation head, the flickering phenomenon in the optical system is suppressed to the greatest extent, so the tiny details on the work will be clearly displayed.
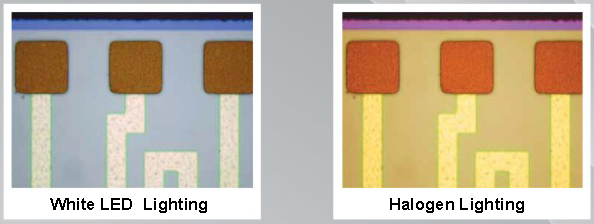
The system has a built-in optical fiber control device, and the standard configuration is a high-intensity white LED illuminator, which has a fast light intensity control function. It has the characteristics of no need to replace the bulb and provides a constant color temperature, making the measurement more effective and more accurate.
FA focus assist
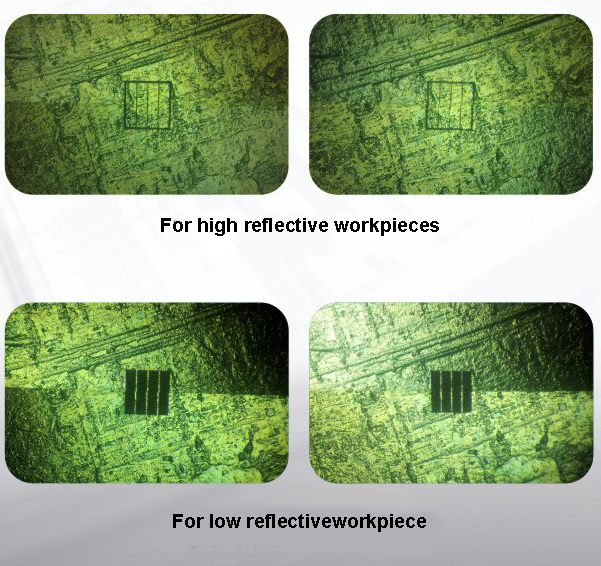
The newly developed FA illuminator has a dichroic prism-assisted focusing function that provides sharper patterns. Precise focus is provided during Z-axis measurements, and measurement errors due to differences in the depth of focus of different objectives are minimized.
Structures of Dichroic Prism Focus Assist (FA)
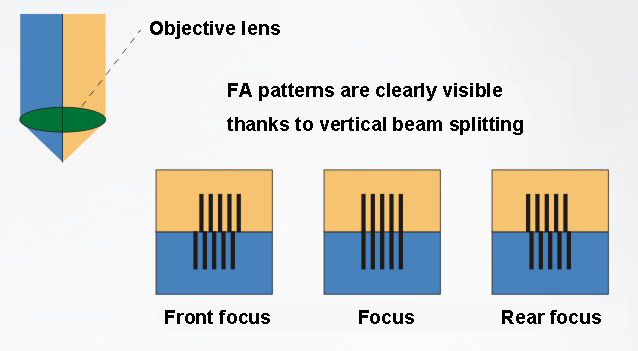
Examples of Dichroic Prism Focus Assist (FA)
The perfect embodiment of humanized design
Reduced surveyor fatigue even during long periods of operation
Accurate alignment of the measuring object to the edge of the workpiece is crucial for any measuring microscope. The advanced optical design ensures high-quality edge detection and microscopic inspection. In straight-line calibration, studies have shown that observations using clamped and crossed lines are more accurate than observations obtained simply by using a straight line. Through the analysis of the characteristics and resolving power of the human eye, we use the clip line and the cross line in the eyepiece to improve the alignment accuracy of the sample, so that the quality and speed of measurement and microscopic observation can be greatly improved.
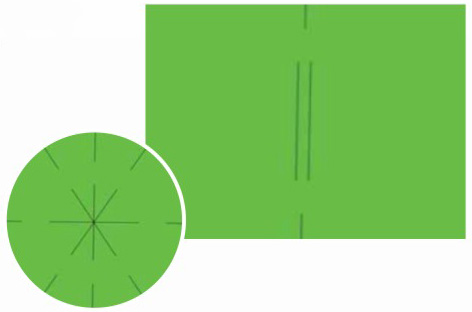
The Perfect Embodiment of Humanized Design
In the design of the microscope host, we are committed to enhancing the affinity between it and the operator and the comfort of operation. Its instrument design is very easy to operate. In addition, it also adopts anti-fatigue design, even if the operator uses it for a long time, he will not feel fatigue and discomfort.
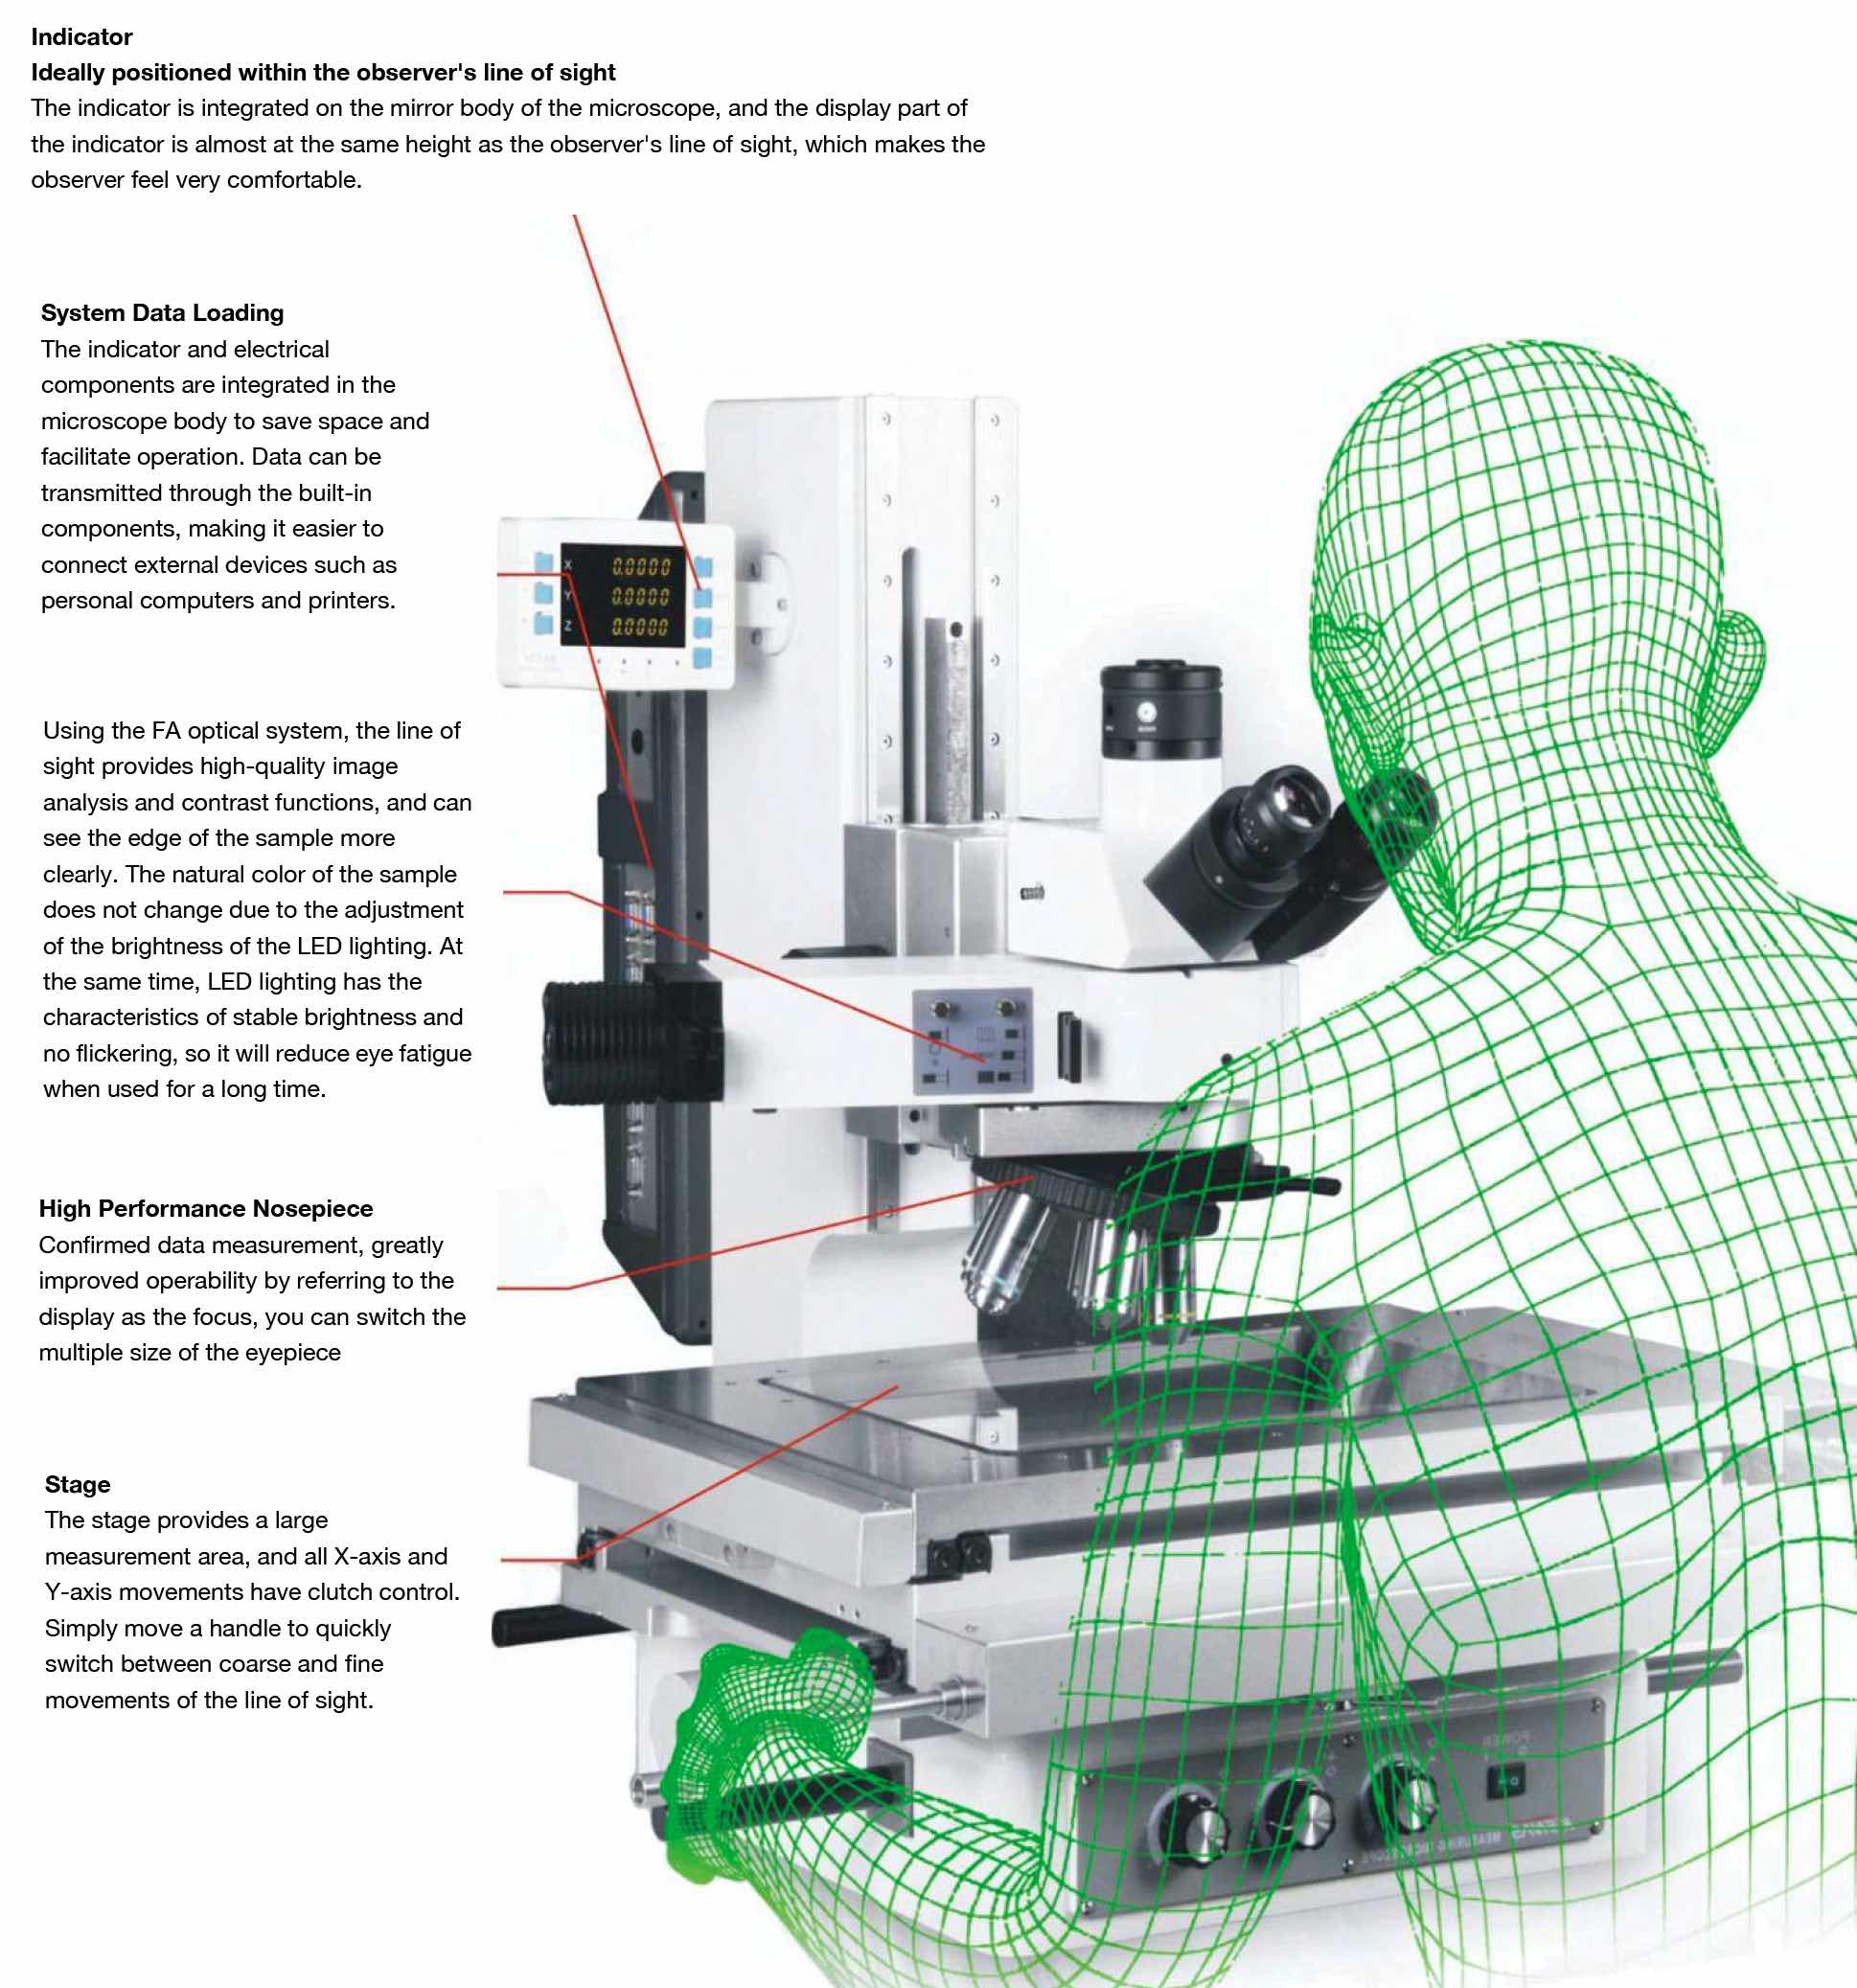
Coarse & Fine Adjustment Quick Conversion
Both sides are equipped with coaxial coarse/fine adjustment handwheels to achieve focusing at the fastest speed. The instrument has a built-in high-precision grating ruler for accurate 3-axis measurement. FA-assisted focusing can also be selected to ensure the accuracy of Z-axis focusing and minimize the measurement object difference caused by the different focal depth of the objective lens.
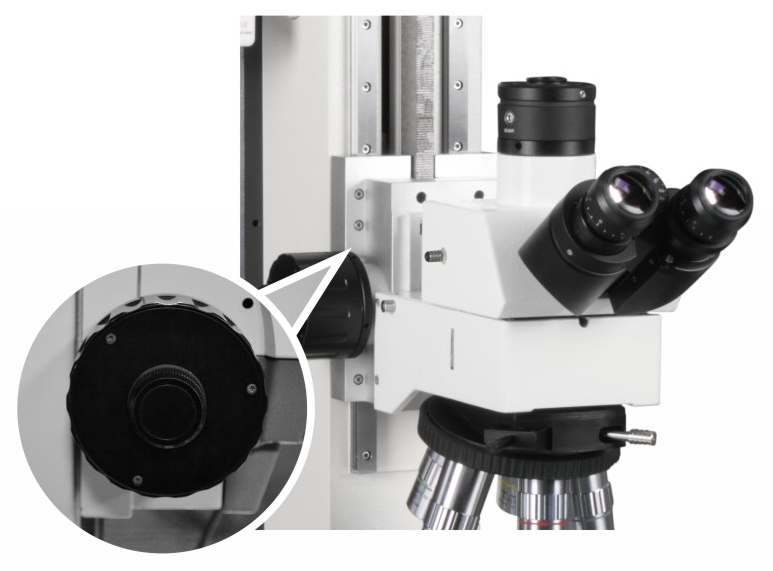
High Precision Stage
We have adopted a linear guideway with excellent straightness and stability on the XY table. In addition, our designers widely use FEM analysis technology in the design stage to ensure that the stability of the workbench is optimal under any measurement conditions. This lays a solid foundation for high-precision measurement.
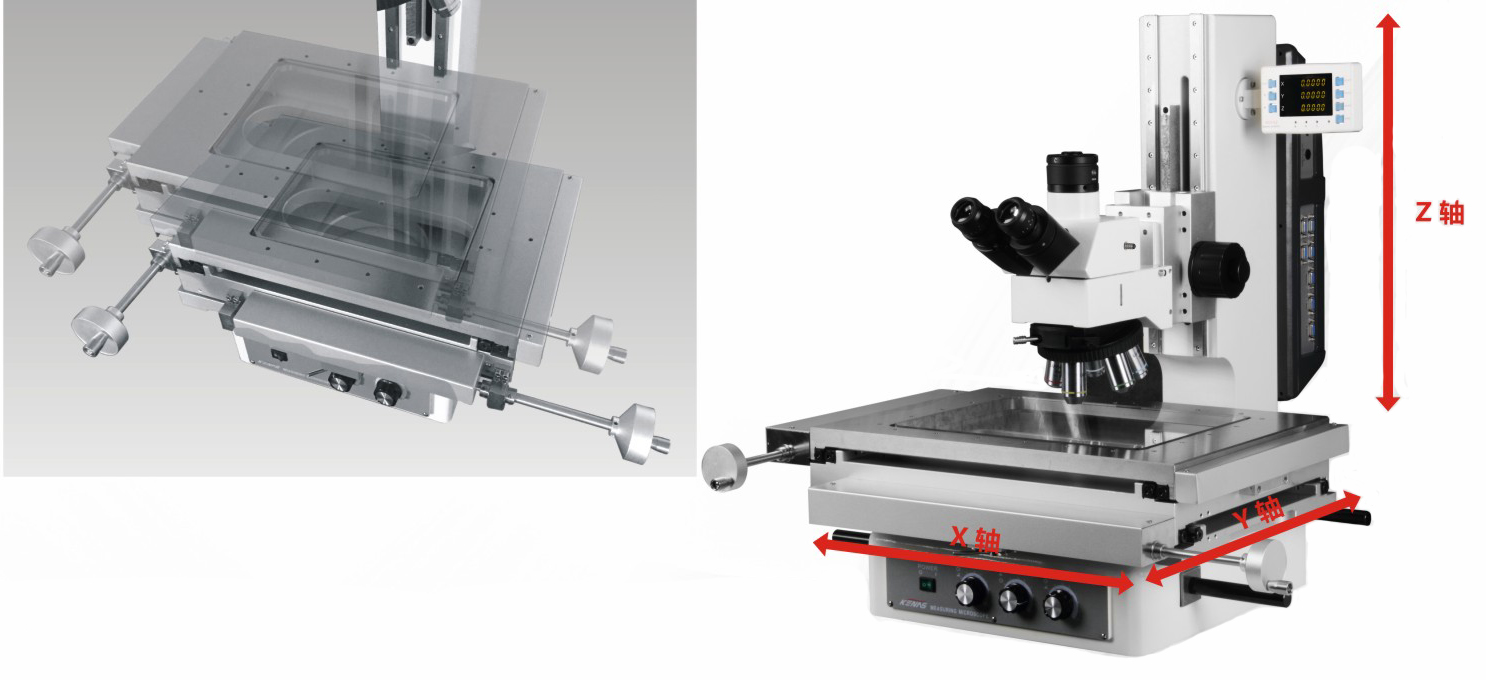
| Spec. | Metal Table Surface Dimensions | Glass Table Surface Dimensions | Stroke | Minimum Resolution (Optional) mm |
| 12×8 | 500x350mm | 359x250mm | 300×200 | 0.001/0.0005/0.0001 |
| 8×6 | 400x280mm | 245x192mm | 200×150 | 0.001/0.0005/0.0001 |
| 6×4 | 300x250mm | 204x145mm | 150×100 | 0.001/0.0005/0.0001 |
| 4×4 | 285x240mm | 170x145mm | 100×100 | 0.001/0.0005/0.0001 |
| Measurement Accuracy | All models of the stage can achieve (3+L/50)um excellent precision, higher requirements can choose high-precision type
The stage has a measurement accuracy of (1.5+L/100)um (L is the measured length, unit: mm) * When using a high-precision stage, it is recommended to use a 10x or more objective lens, and the temperature and environment must meet the specified standards |
|||
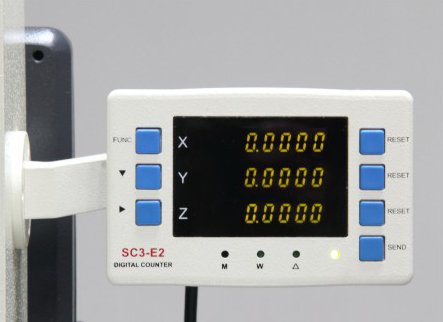
Host of Integrated Electrical Components
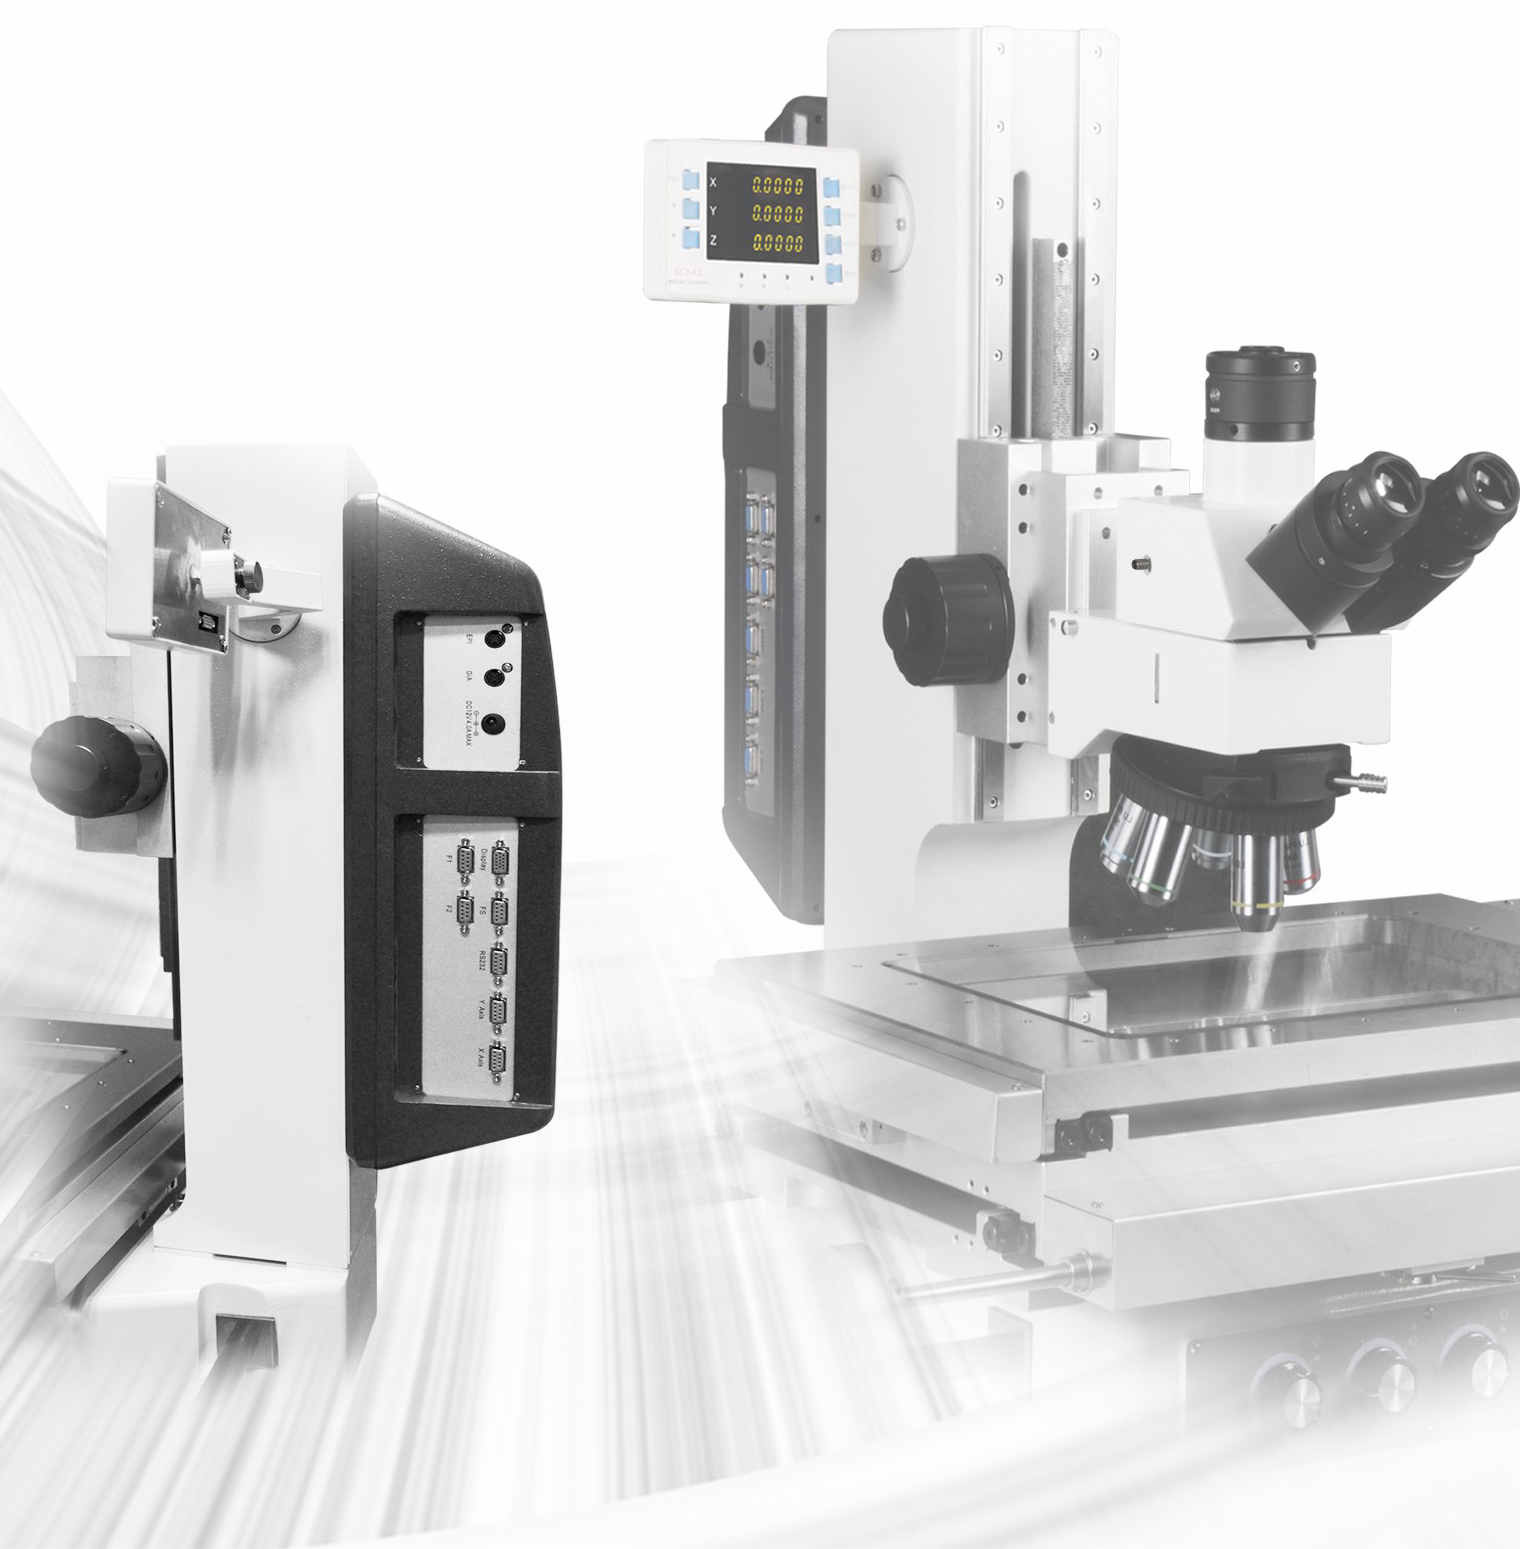
The counter and electrical components are integrated in the mirror body of the microscope to save space and facilitate operation. It is easier to connect external devices for data transmission through the built-in RS232. The display part of the counter is almost at the same height as the line of sight of the measuring personnel, which makes the measuring personnel feel very comfortable. Therefore, the measurement personnel only need to turn the angle of view slightly to confirm the measurement value displayed by the counter, so that it is easier to concentrate on the observation and positioning of the sample. The minimum reading can reach 0.1um.
Rich Applications
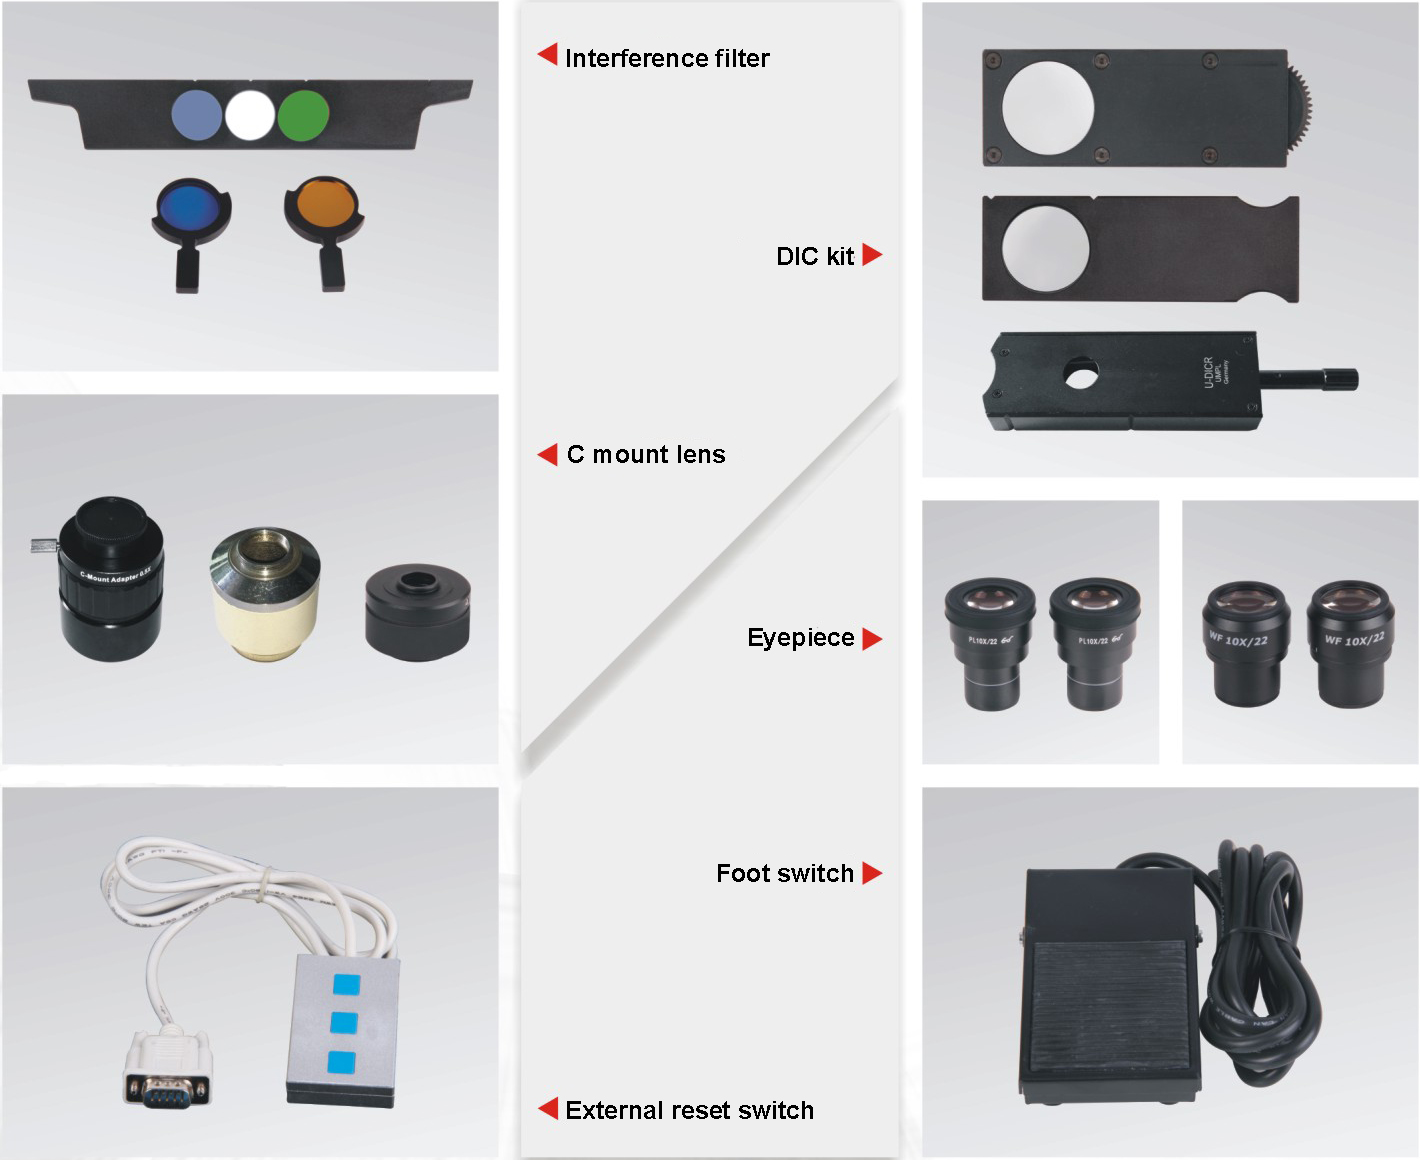
The MM series of measuring microscopes have different types of illuminator components. To meet the various measurement needs of users. These accessories can adapt to the measurement objective lens or the metallographic objective lens using the converter, and realize bright field, dark field, FA-assisted focusing, polarized light and differential interference contrast observation measurement on these basis. The system can be upgraded by loading the required accessories according to different needs.
Integrated circuit

Display screen

Microelectronics

Mold plastic

Objective Lens
Metallurgical Plan Semi-apochromatic Objectives
This series of plan semi-apochromatic objective lens completely eliminates chromatic aberration, and has perfect effects in bright field (dark field) observation method, Normanski differential interference contrast observation method and simple polarized light observation method. All 50x and higher magnification objectives in this series have a working distance of 1mm to ensure safe access to the specimen.
Metallurgical Plan Semi-apochromatic/Apochromatic Objectives – BD
This series of plan semi-apochromatic/apochromatic objectives ensures the correction of coma aberration and minimizes image distortion. Therefore, it is the best choice to use this series of objective lenses in the has perfect effects in bright field (dark field) observation method, Normanski differential interference contrast observation method, simple polarized light observation method and dark field observation method.
Super Long Metallurgical Plan Apochromatic Objectives
This series of long working distance metallurgical plan apochromatic objective lens is easy to change the sample without touching the coarse adjustment knob due to the long working distance.
| Type
|
Parfocal Distance | Objective | Eyepiece (WF10x/25mm) | |||||
| Magnification | Numerical Aperture | Effective WD | Resolution | Total Magnification | Field of View | Focus Depth | ||
| mm | R(um) | (mm) | ±△(um) | |||||
| M Plan Apo | 95mm | 2x | 0.055 | 34.6 | 5 | 20x | Φ12.5 | 91 |
| 5x | 0.14 | 45 | 2 | 50x | Φ5 | 14 | ||
| 10x | 0.28 | 34 | 1 | 100x | Φ2.5 | 3.5 | ||
| 20x | 0.29 | 30.8 | 1 | 200x | Φ1.25 | 3.5 | ||
| 50x | 0.42 | 20.5 | 0.7 | 500x | Φ0.5 | 1.6 | ||
| 100x | 0.55 | 12.5 | 0.5 | 1000x | Φ0.25 | 0.9 | ||
Illuminator Options
The best lighting device should be selected according to the shape, surface state, color and material of the inspected workpiece.
Effective use of lighting for clear observation and measurement of objects such as semiconductors, electrical and electronic components, precision automotive parts, injection molded parts, and medical devices is crucial.
Upgrade Options
Motorized Z-axis
Since the focus control part is placed on the right-hand side of the measurement personnel by using an independent travel box, the user no longer need to control the Z-axis with awkward postures, and the electric focus can significantly reduce the fatigue of the measurement personnel during Z-axis measurement feel.
Measurement Software
It adopts a high-definition digital display color image system compatible with C-mount. Anyone can easily capture and save high-quality images through the microscope. The automatic edge detection with sub-pixel processing function can quickly measure a variety of different types of samples, providing users with a variety of advanced measurement and processing functions, including 2D data processing, image measurement and data storage.
Data Processing System
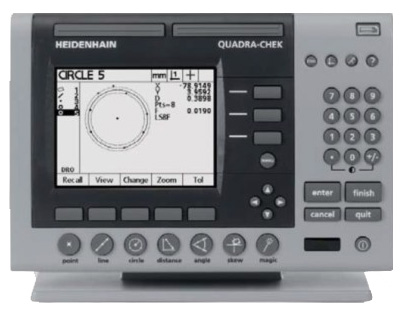
QUADRA-CHEK 200 data processor is a multifunctional digital display processing system suitable for digital grating measurement and video measurement. 2D measurement function
Other Optional Items
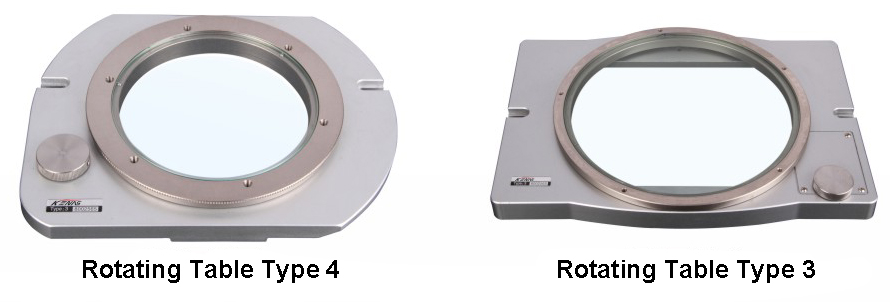
Rotating Table
Allows observers to easily achieve parallel alignment of specimens
Others
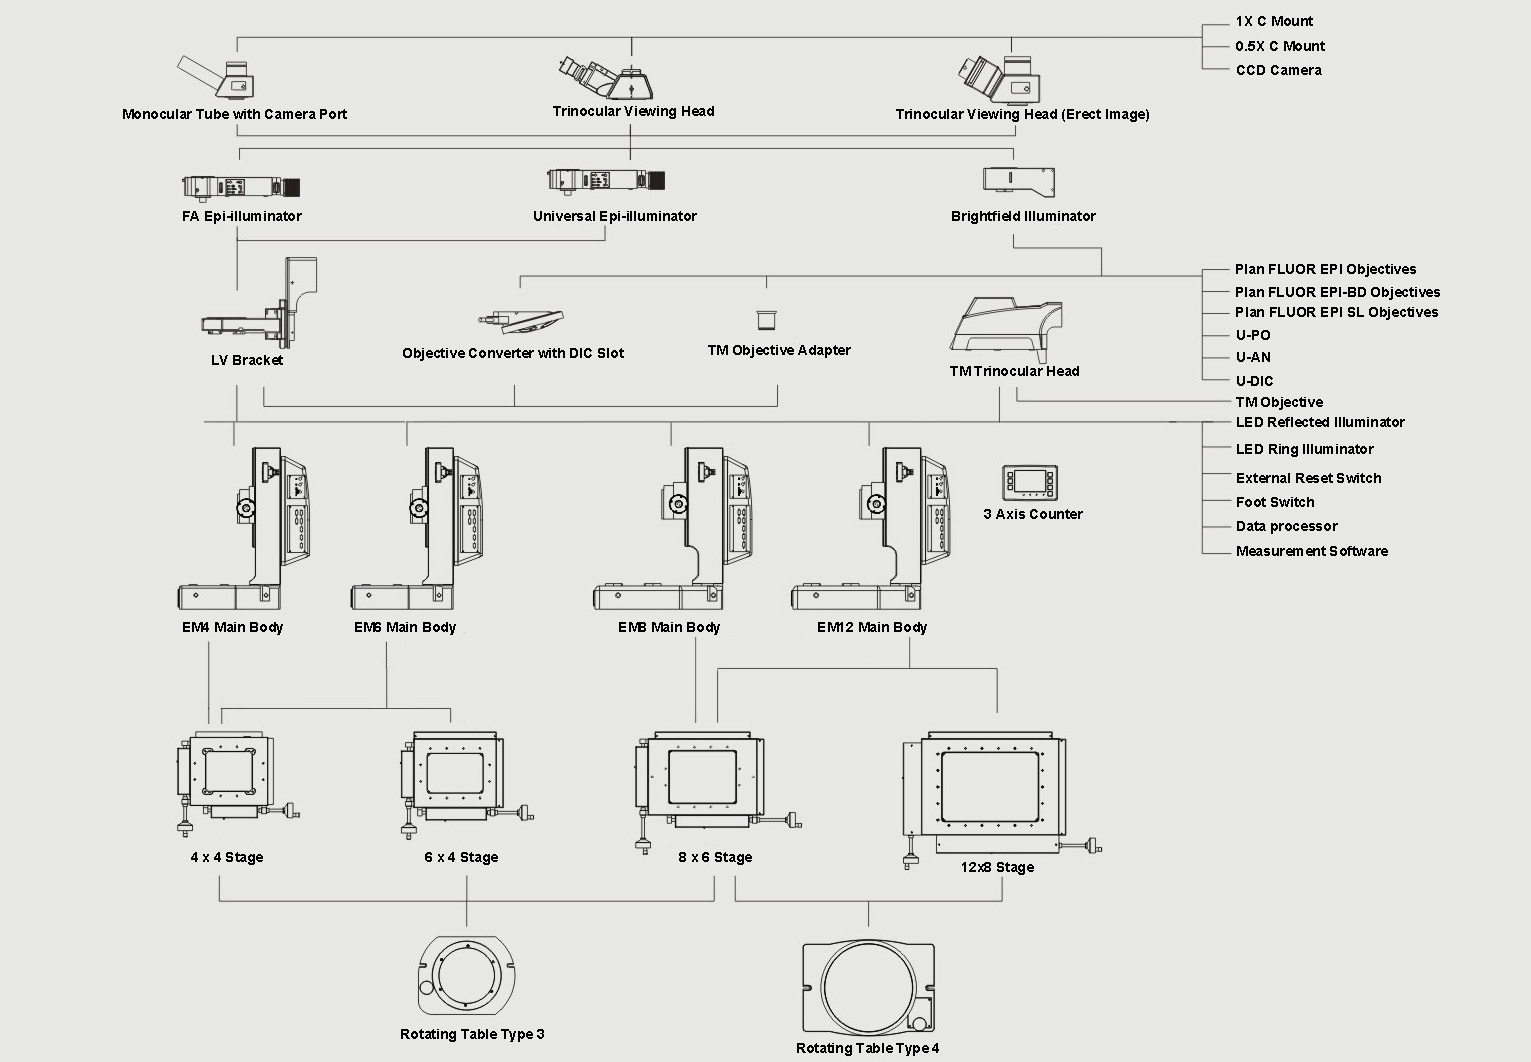
System Configuration Diagram
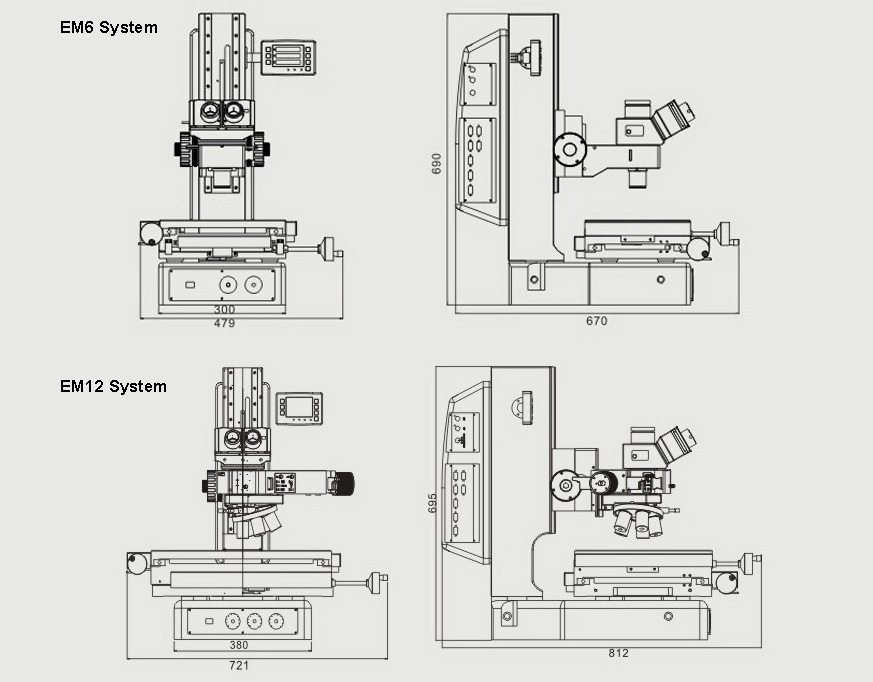
Product Dimensions
Recommend Models & Specifications
1. Recommended EM4 Main Body System
2. Recommended EM6 Main Body System
3. Recommended EM8 Main Body System
4. Recommended EM12 Main Body System

